Guide on How to Embed Your Twitch.tv Channel on Blogger
Picture this: your latest blog post is live, readers are scrolling through, and right there on the page your Twitch stream is playing in full glory. No need to send them off to another tab or lose momentum. Embedding your Twitch channel directly into Blogger keeps your community right where you want them—on your site, engaged with both your writing and your live content. It’s a simple upgrade that makes your blog feel more dynamic and professional.
Whether you’re a gamer building a loyal following or a creator blending streams with written guides, this guide walks you through the exact process using the latest Twitch embed tools (still rock-solid in 2026). We’ll cover every step with clear instructions, plus fresh tips to make your embed look great on desktop and mobile.
Step 1: Grab the Latest Embed Code from Twitch
Head over to your Twitch channel page while you’re live or just browsing. Look for the Share button (usually at the bottom right of the player). Click it, then select the Embed option. Twitch will generate a ready-to-use iframe code for you.
Copy the full code snippet. It will look something like this (with your channel name already filled in):
<iframe src="https://player.twitch.tv/?channel=YOURUSERNAME&parent=www.example.com" frameborder="0" allowfullscreen="true" scrolling="no" height="378" width="620"></iframe>
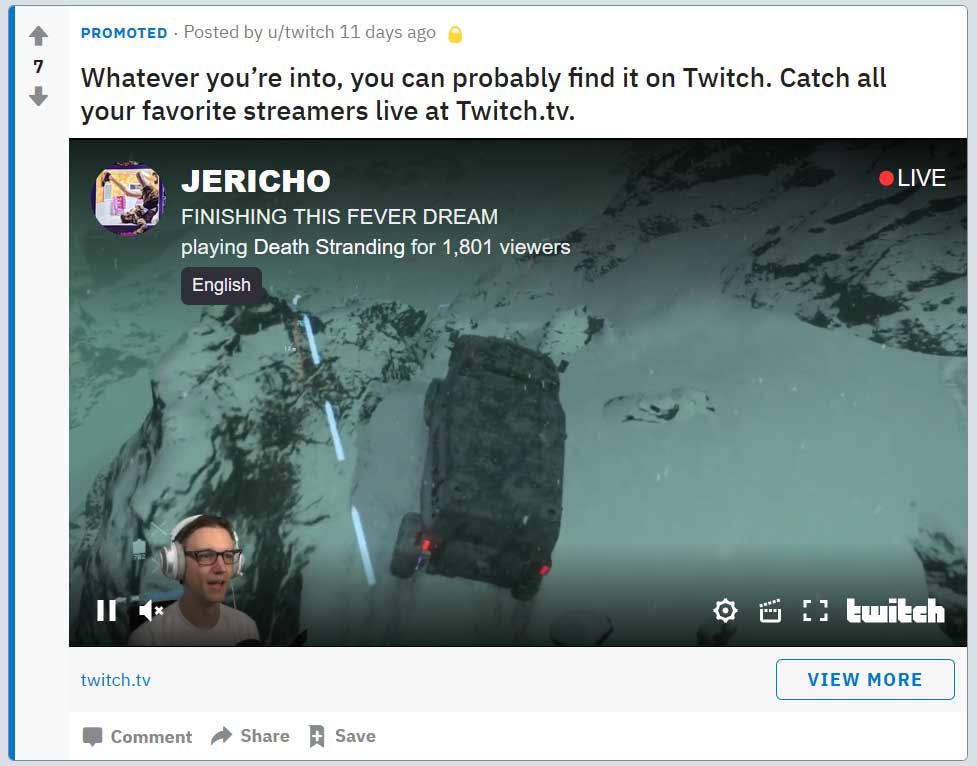
Don’t paste it anywhere yet—we’ll customize it in a moment. Here’s exactly what that Share button looks like on Twitch:

Step 2: Log Into Blogger and Open Your Layout Editor
Sign in to your Blogger dashboard, choose the blog you want to update, and click “Layout” in the left menu. This is where you’ll decide exactly where your Twitch player should appear—sidebar, header, footer, or even a custom section.

Step 3: Add an HTML/JavaScript Gadget
Find the section where you want the stream to live and click the “+ Add a Gadget” link. In the popup window that appears, scroll until you see “HTML/JavaScript” and click the plus sign next to it. This gadget is perfect because it lets you drop in any custom code, including Twitch embeds.


Step 4: Configure the Gadget with Your Twitch Code
In the gadget editor, give it a clear title like “Live on Twitch” or “Watch Me Stream Live.” Then paste the iframe code you copied from Twitch into the Content box. Before you hit Save, there’s one crucial update you must make.

Step 5: Update the Required Parent Parameter (2026 Edition)
Twitch still requires the parent parameter to prevent unauthorized embeds. In the iframe code, find parent=www.example.com and replace it with your exact Blogger domain. For most people this will be something like yourblogname.blogspot.com (no “https://” and no trailing slash).
If you’re using a custom domain (like yourname.com), use that instead. You can even add multiple parents separated by commas if needed. Example of a fully updated code:
<iframe src="https://player.twitch.tv/?channel=YOURUSERNAME&parent=yourblogname.blogspot.com" frameborder="0" allowfullscreen="true" scrolling="no" height="378" width="620"></iframe>
Pro tip: For a responsive player that looks sharp on phones and tablets, change width to 100% and set a reasonable height like 400 or 500 pixels. You can always tweak these numbers later.
Bonus Tips to Make Your Embed Shine
- Responsive design: Wrap the iframe in a div with CSS if you want it to scale perfectly (add a quick custom CSS snippet in your theme if needed).
- Add Twitch Chat too: If you want both video and chat side-by-side, use the “Embedding Everything” option on Twitch’s developer page and adjust the layout parameter.
- Troubleshooting common issues: If the stream shows a black screen or error, double-check the parent domain spelling and make sure your blog is set to HTTPS (Blogger does this automatically now). Refresh your page after saving the gadget.
- Performance: The player only loads when the page is viewed, so it won’t slow down your blog load times.
Once you save the gadget and preview your blog, your live Twitch stream should appear instantly. Visitors can watch you play, chat with you, and stay immersed in your content—all without ever leaving your site. It’s one of those small changes that instantly makes your blog feel more alive and connected to your audience.
Give it a try today and let your readers experience the best of both worlds. Happy streaming and happy blogging!